How to Pack a Kitchen Like a Professional Mover
The kitchen is the room I dread hearing clients say they'll "tackle this weekend." Not because they can't do it — they absolutely can — but because the kitchen holds more fragile, awkward, and heavy items per square foot than any other room in a home. Plates crack. Wine glasses shatter. A bottle of olive oil leaks through three boxes. I've opened more damage claims that trace back to kitchen boxes than all other rooms combined.
Here's what I've learned after eight years of packing kitchens across Los Angeles: the difference between a kitchen that arrives intact and one that arrives in pieces comes down to technique, not luck. The methods below are the same ones our Green Moving packing crew uses on every job — from studio apartments in Koreatown to 5-bedroom homes in Manhattan Beach. Follow them step by step and your kitchen will reach your new home without a single casualty.
Supplies You'll Need Before You Start
Gather everything before you open a single cabinet. Stopping mid-pack to run to the store wastes time and disrupts your rhythm.
Boxes. You'll need three types. Medium boxes (3 cu ft, $5 each) handle most dishes and general kitchenware. Small boxes (2 cu ft, $4 each) are for heavy items — canned goods, cast iron, spice jars — because they keep weight manageable. Dish pack boxes with double-wall construction ($3.50 each) are worth every penny for fine china and delicate ceramics. I recommend 8–12 medium boxes, 4–6 small boxes, and 2–3 dish packs for an average kitchen.
Packing paper. This is your primary wrapping material — plain newsprint or unprinted packing paper. Never use actual newspapers. The ink transfers onto dishes, especially lighter ceramics and anything porous. One bundle of packing paper (about 200 sheets) covers most kitchens.
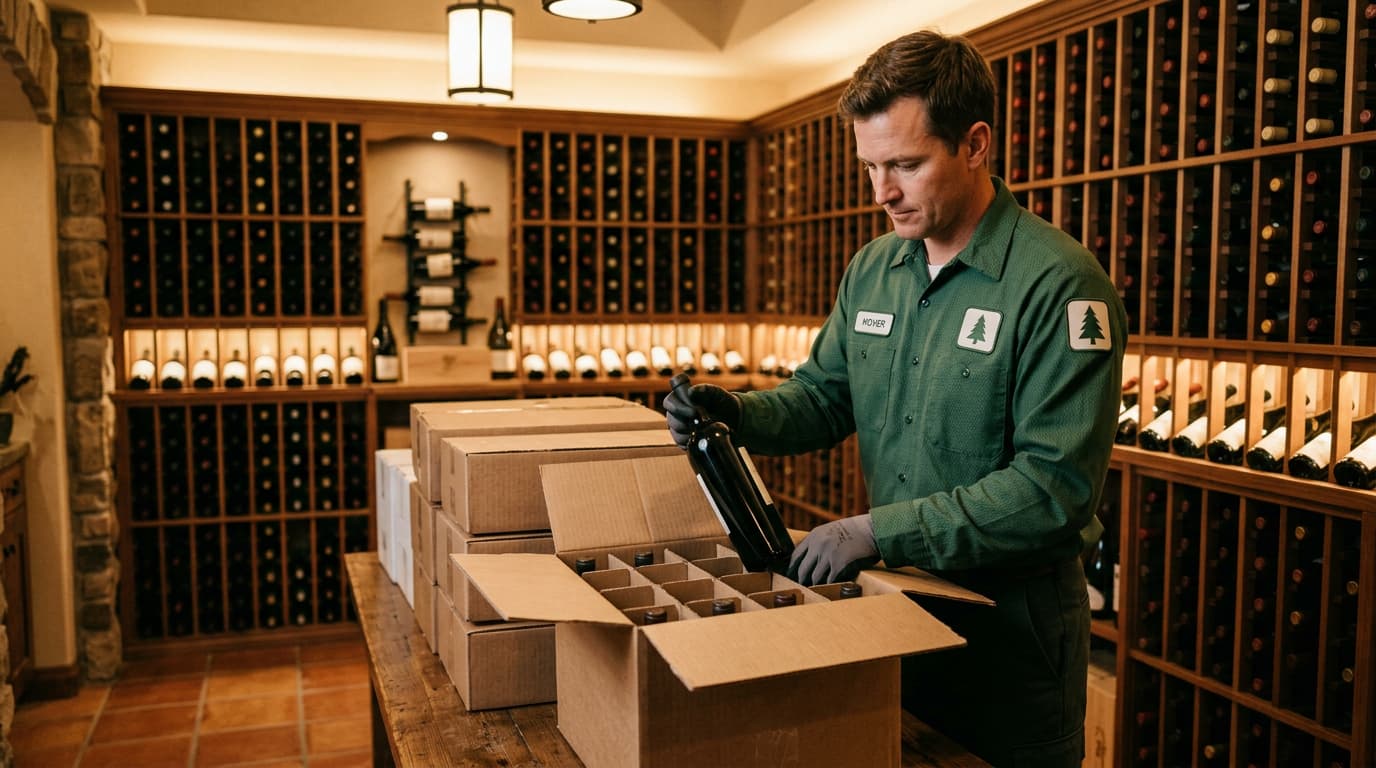
Cell boxes with dividers. These are non-negotiable for wine glasses, champagne flutes, and stemware. Each glass gets its own padded compartment. Trying to wrap stemware and pack it loose in a regular box is how stems snap.
Bubble wrap. Use sparingly — only for genuinely fragile or high-value items like hand-painted ceramics, crystal, or irreplaceable pieces. Packing paper handles 90% of kitchen protection. Bubble wrap is overkill for everyday plates and mugs, and it generates unnecessary waste.
Tape and markers. Heavy-duty packing tape (not masking tape, not painter's tape) and a thick black marker for labeling. You'll use more tape than you expect — buy two rolls minimum.
How to Pack Plates and Dishes
This is where most kitchen breakage happens, and the fix is one simple change that most people don't know about.
Pack plates vertically, not flat. Think of how records sit in a crate — on their edges, not stacked. Plates are structurally stronger on edge. A stack of plates lying flat concentrates all the weight on the bottom plate, and any impact from above cracks through the pile. Plates standing vertically distribute force across the edge — a much stronger orientation.
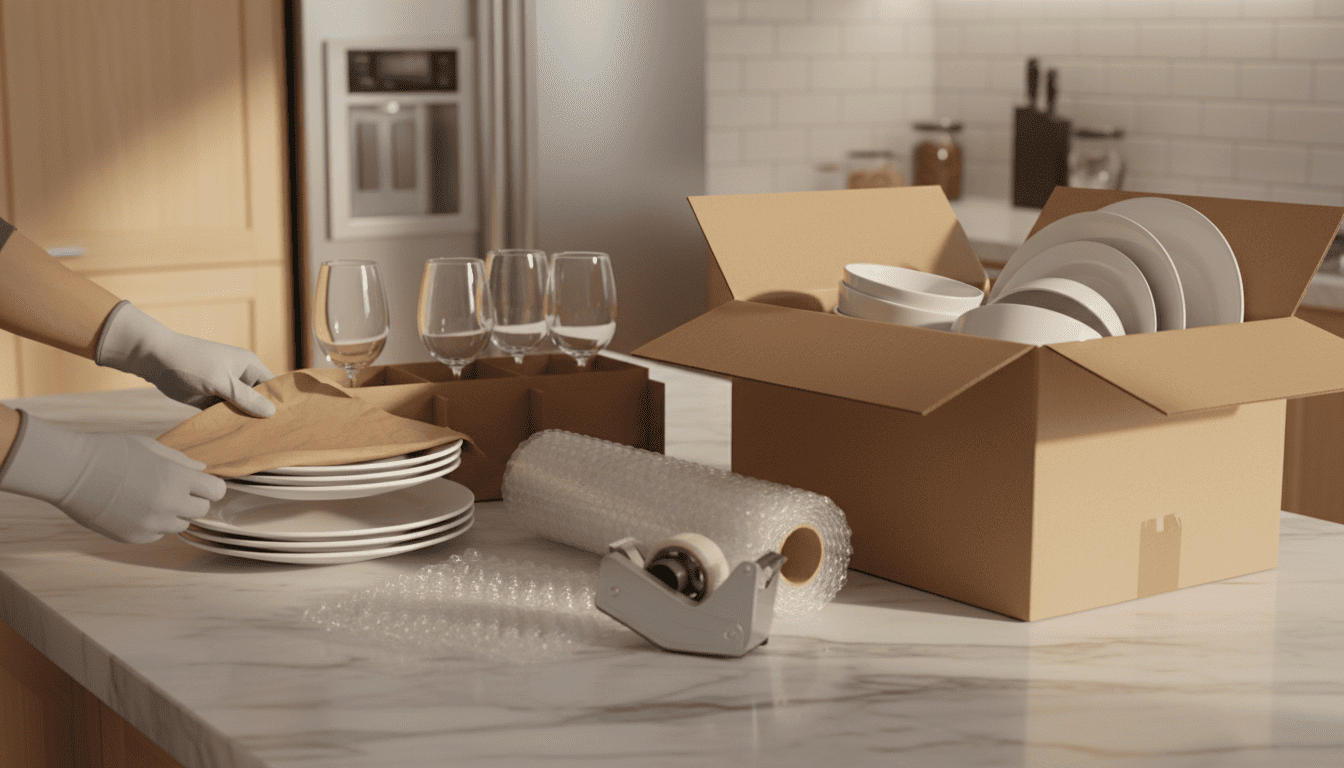
Here's my method. Start by crumpling 3–4 sheets of packing paper into the bottom of a medium or dish pack box to create a cushion base. Wrap each plate individually — lay it on a sheet of paper, fold corners over the face, then roll to complete the wrap. Stand wrapped plates vertically in the box, snug against each other like books on a shelf. Fill any remaining gaps with crumpled paper so nothing shifts. Add a final paper layer across the top before sealing.
Pro tip: group plates by size. Dinner plates together, salad plates together, bowls together. Mixing sizes creates gaps that let items shift during transit. A box of uniform-sized plates packed vertically is one of the safest loads on the entire truck.
For fine china or family heirloom pieces, use dish pack boxes with their reinforced double-wall construction. The extra protection costs $3.50 per box — cheap insurance for items you can't replace.
How to Pack Glasses and Stemware
Glasses break more often than plates during moves, almost always because of the same mistake: packing them loose in a regular box with paper between them. That's not enough protection. One hard stop in traffic and the glasses collide.
Cell boxes solve this completely. Each glass sits in its own cardboard compartment with walls separating it from every neighbor. Before placing a glass in its cell, stuff a sheet of crumpled paper inside the glass to reinforce it from within, then wrap the outside with one sheet of paper.
Stemware needs extra attention at the stem. The stem is the weakest point — thin, narrow, and the first thing to snap under lateral force. Wrap the bowl of the glass first, then take an additional strip of paper and wind it specifically around the stem and base, creating a thicker pad around the vulnerable point. Place stemware upside down in the cell — the rim is stronger than the base and handles the resting weight better.
I recommend labeling the top and one side of every glass box with "FRAGILE — STEMWARE" and a "THIS SIDE UP" arrow. Our crews prioritize these boxes for careful handling, and they get loaded where nothing heavy can end up on top of them.
How to Pack Pots, Pans, and Cookware
Cookware is heavy and durable but scratches easily — especially non-stick coatings, enameled surfaces, and copper.
Nest pots and pans to save space, but always layer paper between each piece. A sheet of packing paper between stacked pots prevents the bottom of one from scratching the interior of another. This is especially important for non-stick pans — one gouge through the coating and the pan is compromised.
Wrap lids separately. Loose lids shift during transport and create noise, impact, and potential chipping. Wrap each lid in a sheet of paper and either tape it to its pot or pack lids together in their own section of the box with paper dividers.
Cast iron gets individual treatment. A single cast iron skillet can weigh 8–12 pounds. Wrap each piece individually in packing paper, then place in a small box — never a large one, because a box full of cast iron becomes unliftable. Two or three cast iron pieces per small box is the limit. I've seen clients load a large box with six cast iron pans and wonder why it weighs 60 pounds and the bottom gives out.
Baking sheets, cutting boards, and flat items pack vertically against the side of a box, just like plates. Slide them in along the wall and fill the center with lighter wrapped items.
Don't want to pack yourself? Our team handles it for you — call (949) 266-9445 or request a packing quote.

How to Pack Small Appliances
Blenders, food processors, stand mixers, toasters, Instant Pots — the average LA kitchen has 4–8 small appliances, each with loose parts that need separate attention.
Original boxes are ideal. If you saved the packaging for your KitchenAid mixer or Vitamix blender, use it. Manufacturers engineer those boxes specifically for their product's weight distribution and fragile points. If you're someone who keeps original boxes in the garage, this is the moment that habit pays off.
Without original packaging, wrap the appliance in bubble wrap (this is one of the cases where it's justified), secure the cord with a rubber band against the body, and pack in a snugly fitting box with crumpled paper filling the gaps. An appliance rattling around inside an oversized box is almost worse than no protection — the item builds momentum with each jolt.
Detach and wrap loose parts separately. Blender blades, food processor discs, mixer attachments, and coffee grinder lids should each be wrapped in paper and placed alongside the main unit. Taping them to the appliance seems convenient but risks scratching the housing. A labeled ziplock bag taped to the outside of the box works better.
For high-value appliances — espresso machines, commercial-grade mixers — consider whether our packing and unpacking service makes sense for these items even if you're packing the rest yourself.
How to Handle the Pantry
The pantry is where kitchen packing goes sideways for most people. Half-open bags of flour, sticky bottles of syrup, expired cans from 2023 — it all needs a decision, and most of those decisions should be "toss it."
The rule I give every client: move unopened, non-perishable items. Toss everything else. Opened bags of rice, flour, and pasta attract pests during transit and storage. Expired cans and condiments aren't worth the box space. Partial bottles of cooking oil are leak risks. Be ruthless here — replacing pantry staples at your new home costs $40–$60, which is less than the cleanup from one leaking bottle ruining a box of dishes.
For items worth moving, pack liquids in sealed plastic bags before placing them in a box. One ziplock bag per bottle prevents a single leak from destroying an entire box. This takes two minutes per bottle and saves potential hours of cleanup and replacement costs.
Spices travel together. Pack all spice containers in one small box, lids taped shut. Spice jars are small, heavy in aggregate, and prone to opening during jostling. A box of 20 loose spice jars with unsecured lids is a mess waiting to happen. Tape every lid, pack them upright, and fill gaps with paper.
The Labeling System That Makes Unpacking Effortless
Packing the kitchen correctly is half the job. The other half is knowing what's in each box when you arrive at your new home.
Label every box on the top and one side with four pieces of information: the room ("KITCHEN" in large letters), the general contents ("everyday plates," "stemware," "small appliances"), a fragile indicator where appropriate, and a priority number — 1 means unpack first night, 2 means unpack within the first week, 3 means unpack whenever.
Your Priority 1 boxes should contain the items you need immediately: a few plates and bowls, basic utensils, coffee maker, dish soap, paper towels, and a sponge. Pack this box last so it's loaded last on the truck and comes off first. For an even better system, check out our guide to color-coding your boxes by room — it shaves hours off the entire unpacking process.
Kitchen Packing Timeline
Plan for more time than you think. In my experience, the kitchen takes 4–6 hours to pack properly for a standard household — longer if you have a large collection of cookware, specialty items, or a well-stocked pantry.
Three weeks before the move: declutter the pantry and start using up perishables. Identify items to donate or discard. If you have items to get rid of, our article on what to donate before moving in Los Angeles covers the best LA-specific options.
One week before: pack everything you won't use in the final week — specialty appliances, holiday dishes, baking supplies, extra glassware, and serving pieces.
Two days before: pack daily dishes, cookware, and remaining pantry items. Set aside your Priority 1 essentials box.
Moving day morning: pack the coffee maker (after your last cup), remaining utensils, cleaning supplies, and trash bags. Seal the final boxes and label them.
Spreading the work over three weeks instead of cramming it into one weekend reduces breakage, decision fatigue, and the temptation to throw everything into boxes unwrapped.
Frequently Asked Questions
How many boxes does a typical kitchen need?
An average kitchen fills 12–18 boxes: 6–8 medium boxes for dishes, glasses, and general items, 3–5 small boxes for heavy items like canned goods and cast iron, 2–3 cell or dish pack boxes for stemware and fine china, and 1–2 boxes for pantry items. Larger kitchens with extensive collections may need 20–25 boxes.
Should I pack knives in a box or carry them separately?
Wrap each knife individually in several layers of packing paper with the blade fully covered, then secure with tape. Pack wrapped knives together in a small box labeled "SHARP — KITCHEN KNIVES." A knife block can travel as-is if you wrap it in a moving blanket and tape the knives into their slots. Never pack loose, unwrapped knives in a box with other items.
Is it worth buying dish pack boxes or can I use regular boxes?
For everyday dishes, a standard medium box with proper paper wrapping works fine. For fine china, antique ceramics, or sentimental pieces you can't replace, the $3.50 dish pack box is worth it. The double-wall construction absorbs significantly more impact than a standard single-wall box. I always recommend dish packs for anything that would upset you to lose.
How heavy should a packed kitchen box be?
Keep every box under 30 pounds. Kitchen items are deceptively heavy — a box of plates hits 25–30 pounds faster than you'd expect. A box that's too heavy risks the bottom giving out during carrying, and it creates lifting hazards for movers. Use small boxes for heavy items (cast iron, canned goods) and medium boxes for lighter, bulkier items (Tupperware, glasses). If you can't lift the box comfortably with both hands, it's too heavy.
Can Green Moving pack just my kitchen if I handle the rest?
Yes. Many clients pack their own bedrooms and living areas but hire our packing crew specifically for the kitchen because of the fragile item density. Partial packing is a common request — our team handles the high-risk rooms while you save money doing the straightforward ones yourself. Call (949) 266-9445 to discuss a partial packing estimate.
Get Started
Your kitchen deserves more care than any other room in your move. The methods in this guide — vertical plates, cell boxes for stemware, nested cookware with paper layers, and sealed pantry items — are the same ones I teach our crew every day. Take the time to do it right, and you'll unpack without a single broken piece.
Schedule Your Free Consultation:
- Call: (949) 266-9445
- Email: sales@greenmovingla.com
- Online: greenmovingla.com/contacts
Green Moving — Licensed (CAL-T 201327) & Insured. 1% of every move supports California environmental causes.